
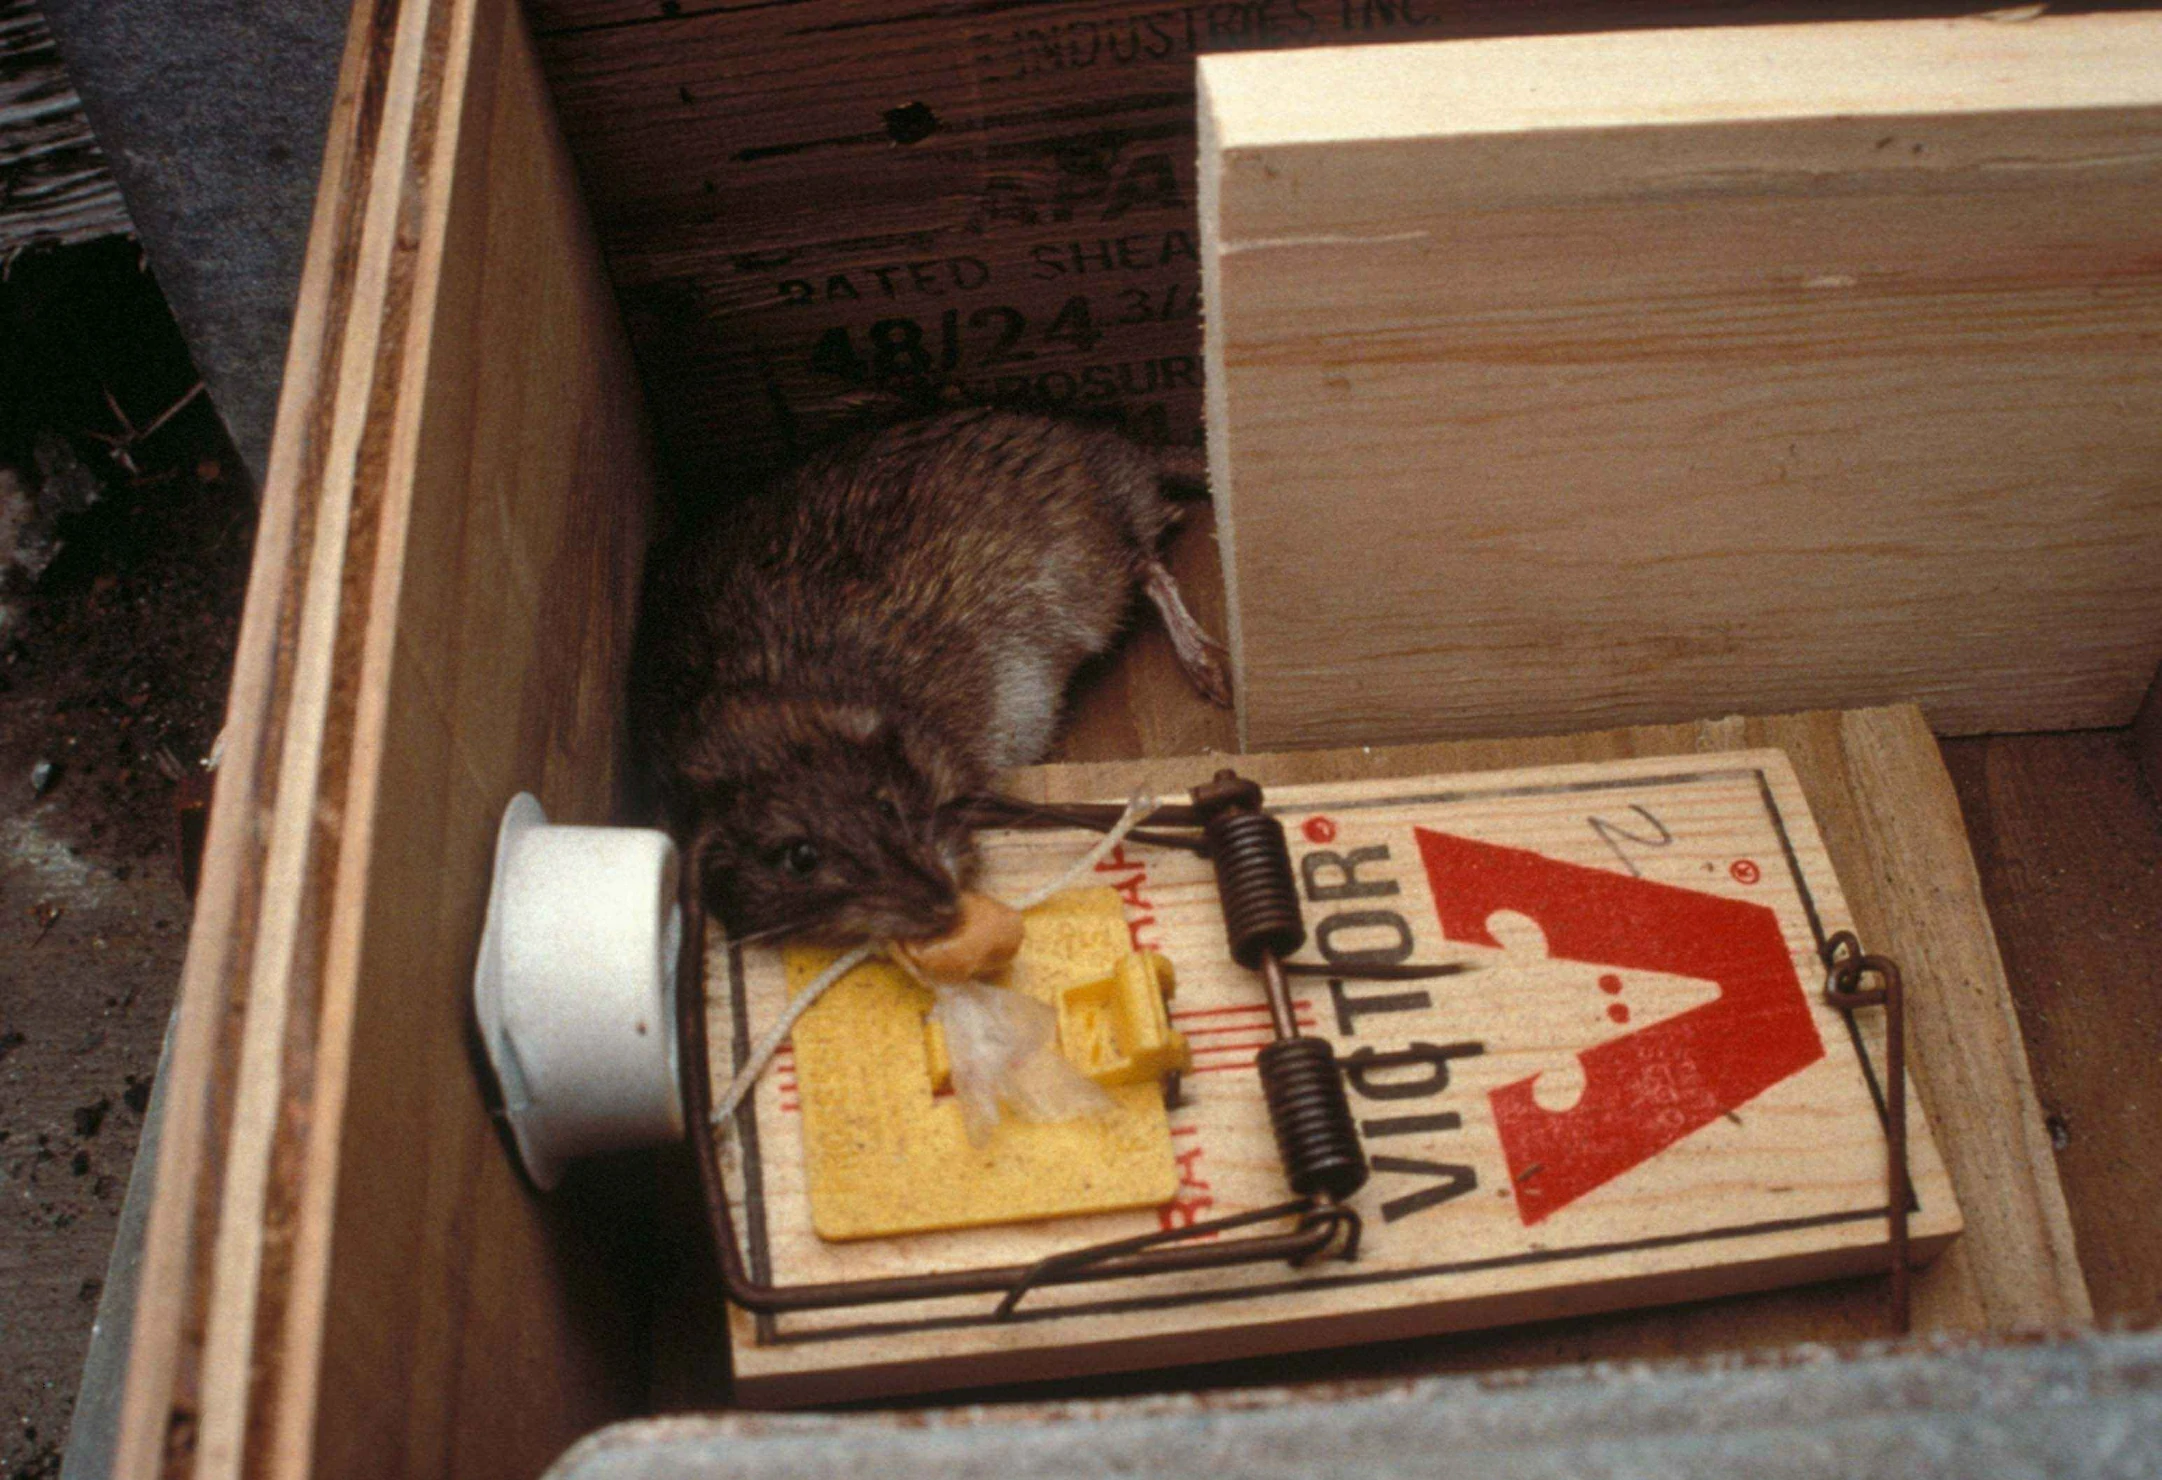
Rats are cautious creatures that prefer traveling through covered pathways rather than crossing open spaces. A rat trap tunnel takes advantage of this behavior by creating an enclosed space that feels safe to rats but actually contains a trap inside.
If you’re tired of traditional traps that rats avoid, a tunnel trap might be exactly what you need. But how do you actually make one that works?
To make a rat trap tunnel, you need a box or tube (PVC pipe, cardboard box, or wooden box), a snap trap that fits inside, and bait like peanut butter. The trap goes inside the tunnel with bait at the back. Rats enter the tunnel feeling safe in the enclosed space, trigger the trap while trying to reach the bait, and get caught instantly. The tunnel also protects kids and pets from the trap mechanism.
Tunnel traps are simple to build, incredibly effective, and solve many of the problems that come with open traps.
Once you know how to make one, you’ll wonder why you didn’t start using them sooner.
Why Tunnel Traps Work Better Than Open Traps
Rats have a natural behavior called thigmotaxis, which is just a fancy scientific term for wall-hugging. In the wild, rats are prey animals hunted by owls, hawks, cats, snakes, and other predators.
To stay safe, rats stick to walls, edges, and covered pathways where they feel protected.
When a rat sees an open snap trap sitting in the middle of a floor or along a wall, it recognizes it as an unfamiliar object and becomes suspicious. The rat can see the trap mechanism, smell that something is different, and its instincts tell it to be careful.
A tunnel trap hides all of this. From the rat’s perspective, the tunnel looks like a safe passageway, similar to the pipes, gaps under decks, or spaces behind appliances that rats normally use for travel.
The rat can’t see the trap inside until it’s already committed to entering, and by then it’s too late.
The tunnel also protects the trap from pets and children. If you have dogs, cats, or kids in your house, an exposed snap trap is dangerous.
A tunnel keeps curious fingers and paws away from the trap mechanism while still allowing rats to enter.
Materials You Need
Building a rat trap tunnel doesn’t require expensive materials or special tools. You can make an effective tunnel from things you probably already have around the house.
For the tunnel itself, you have several options. PVC pipe (4-inch diameter or larger) works great because it’s durable, waterproof, and rats readily enter pipe-shaped tunnels. You can buy a 2-foot section at any hardware store for just a few dollars.
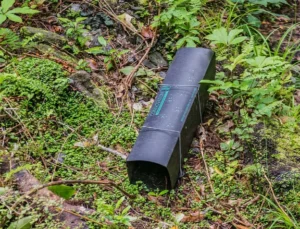
Cardboard boxes are the cheapest option. A shoebox, shipping box, or cereal box can all work, depending on the size of rats you’re dealing with.
The downside is that cardboard won’t last as long, especially outdoors or in damp areas.
Wooden boxes are another option. You can build a simple rectangular box from scrap wood, or repurpose an old wooden crate. Wood is durable and lasts a long time, but it takes more effort to build.
You’ll also need a snap trap that fits inside your tunnel. Standard rat snap traps are about 4 inches wide and 7-8 inches long. Make sure your tunnel is large enough that the snap trap fits comfortably with a little room to spare.
Finally, you need bait. Peanut butter is the best choice because rats love it, it’s sticky (so the rat has to work to get it, which triggers the trap), and it has a strong smell that attracts rats from a distance.
Making a PVC Pipe Tunnel Trap
PVC pipe makes one of the best tunnel traps because it’s exactly the kind of enclosed space rats naturally use. Here’s how to build one.
Buy a 2-foot section of 4-inch or 6-inch diameter PVC pipe from a hardware store. The larger the pipe, the easier it is to place and bait the trap inside, but even 4-inch pipe works fine for most rats.
You don’t need to cut or modify the pipe at all. It works as is.
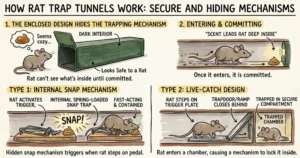
Simply place your snap trap inside the pipe, pushed all the way to one end. Set the trap and add bait to the trigger plate.
Some people like to drill a few small holes in the pipe to increase air flow and help the bait smell spread. This isn’t necessary, but it can help attract rats faster.
Place the pipe along a wall where you’ve seen signs of rat activity. The opening with the trap should face the direction you think rats are coming from, but since pipes are symmetrical, rats can enter from either end.
If you want to make the trap even more effective, you can cap one end of the pipe. This forces rats to enter from a specific direction and approach the trap head-on. You can buy PVC end caps at the same hardware store where you got the pipe.
Making a Cardboard Box Tunnel Trap
Cardboard is the cheapest and easiest material for making a tunnel trap. Any box that’s large enough to hold a rat snap trap will work.
Find a box that’s at least 8 inches long, 5 inches wide, and 4 inches tall. A shoebox is perfect. Cereal boxes can work for smaller roof rats but aren’t big enough for large Norway rats.
Cut openings in both ends of the box. The openings should be large enough for a rat to walk through comfortably (about 3-4 inches square).

You can also cut a small viewing window in the top of the box so you can check if the trap has been triggered without opening the whole thing.
Place your snap trap inside the box, set it, and add bait. Position the trap so the trigger plate is toward the center of the box, not right at the entrance. This ensures the rat is fully inside the tunnel when it reaches the bait.
Close the box (you can tape it shut if needed) and place it along a wall in an active rat area. The openings should align with the rat’s travel direction along the wall.
The advantage of cardboard is that it’s disposable. If a rat dies in the trap and creates a mess, you can just throw the whole thing away and make a new one. No cleaning required.
Making a Wooden Box Tunnel Trap
A wooden box tunnel is more work to build but lasts much longer than cardboard. If you’re going to be using tunnel traps regularly, a wooden version is worth the effort.
Cut pieces of plywood or thin boards to create a rectangular box. The box should be about 12-18 inches long, 5-6 inches wide, and 4-5 inches tall.
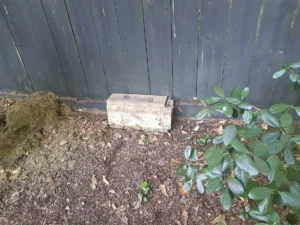
These dimensions give you room to work with the trap and provide enough space for rats to enter comfortably.
Cut entrance holes in both ends of the box, about 3-4 inches square. You can also cut a small door or removable panel in the top so you can access the trap for baiting and checking.
Assemble the box using wood glue, nails, or screws. It doesn’t need to be fancy or perfectly sealed. Some people even leave small gaps between boards because it helps the bait smell spread.
Place your snap trap inside, add bait, and position the box along a wall in an active rat area. You can paint or stain the wood to make it blend in better with your surroundings, but this isn’t necessary for the trap to work.
Wooden boxes can be cleaned and reused indefinitely, which makes them very economical if you’re dealing with ongoing rat problems.
Where to Place Your Tunnel Trap
Placement is just as important as how you build the trap. The best tunnel trap in the world won’t catch anything if it’s not where the rats are traveling.
Start by looking for signs of rat activity. Droppings are the most obvious sign. Rat droppings look like dark grains of rice (for roof rats) or slightly larger pellets (for Norway rats). If you find a concentration of droppings, that’s an active area.
Greasy smudge marks along baseboards and walls show exactly where rats are running. Rats have oily fur, and repeated travel leaves dark streaks.
Place your tunnel trap right along these marked paths.
Gnaw marks on wood, plastic, or food packaging indicate rats are feeding nearby. Setting a trap close to these marks increases your chances of a catch.
Always place the tunnel trap flush against a wall, with the entrance openings aligned with the wall direction. Rats travel along walls, so your trap should be part of their natural pathway, not something they have to detour to reach.
Baiting Your Tunnel Trap
The right bait makes a huge difference. Peanut butter is the gold standard because it has a strong smell, rats love it, and it’s sticky enough that rats have to work to lick it off the trigger plate. This increases the chance of triggering the trap.
Apply a generous amount of peanut butter to the trigger plate of the snap trap. Don’t be stingy. A good-sized dollop (about the size of a grape) is ideal. The strong smell will attract rats into the tunnel.

Other effective baits include bacon or bacon grease, hazelnut spread, sunflower seeds, dried fruit, or whatever food the rats in your area are already eating. If you’ve seen rats getting into your dog food or birdseed, use that as bait because it’s familiar to them.
Place the bait only on the trap trigger, not anywhere else in the tunnel. You want the rat to fully enter the tunnel and reach for the trap to get the food. If you put bait near the entrance, the rat might be able to grab it without triggering the trap.
Setting the Trap Safely
Snap traps are powerful and can hurt your fingers if you’re not careful. Here’s how to set the trap safely inside your tunnel.
First, place the unset trap inside the tunnel in the position where you want it. This lets you figure out the right positioning before the trap is armed and dangerous.
Once you know where the trap should go, remove it from the tunnel and set it according to the manufacturer’s instructions. Most rat snap traps have a metal kill bar that you pull back and secure with a locking mechanism.
Add your bait to the trigger plate, then carefully place the set trap back inside the tunnel. Use your fingers to position it from the sides, not from the ends where the kill bar might snap down.
If you’re nervous about setting snap traps, you can use a stick or tool to push the trap into position rather than using your fingers. Some people even use long tweezers or BBQ tongs to handle set traps safely.
How Long Does It Take to Catch a Rat?
This varies depending on how many rats you have and how cautious they are. Some people catch rats the first night they set a tunnel trap.
Others have to wait 3-5 days while rats get used to the presence of the tunnel.
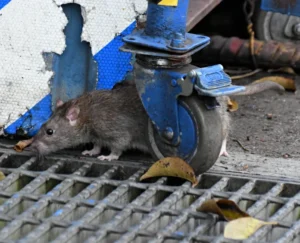
Rats are naturally suspicious of new objects (this is called neophobia). When you first place a tunnel trap, rats might avoid it simply because it’s unfamiliar.
After a few days of seeing the tunnel and smelling the bait, their curiosity and hunger usually overcome their caution.
One trick to speed up the process is to leave the trap unset for a day or two with bait inside. Let the rats enter the tunnel and take the bait without getting caught.
This teaches them that the tunnel is safe. After they’ve had a couple of free meals, set the trap. The rats will return expecting another easy snack and get caught.
Be patient. Don’t move or adjust the trap too frequently. Give it at least a week in one location before deciding it’s not working and trying a different spot.
Maintaining and Cleaning Your Tunnel Trap
After you catch a rat, you’ll need to clean and reset the trap. Wear gloves when handling dead rats because they can carry diseases and parasites.
Remove the snap trap from the tunnel (some people prefer to dispose of the rat while it’s still on the trap, then clean the trap afterward). Place the rat in a plastic bag, seal it, and throw it in your outdoor trash.
Clean the snap trap with hot soapy water. Some people also spray it with disinfectant or a mixture of bleach and water (one part bleach to ten parts water). Rinse the trap thoroughly and let it dry.
If you’re using a cardboard tunnel and it’s gotten bloody or dirty, it’s often easier to just throw it away and make a new one. Cardboard tunnels are so cheap that disposal is more practical than cleaning.
PVC and wooden tunnels can be cleaned and reused. Spray them out with a hose, scrub with a brush if needed, and let them dry before putting a fresh trap inside.
Some rats will avoid tunnels that smell like dead rats. If you’re not catching anything after cleaning and resetting, the smell might still be present. In that case, make or use a fresh tunnel.
Using Multiple Tunnel Traps
If you’re dealing with a serious rat infestation, one tunnel trap probably isn’t enough. Rats are smart, and if one rat sees another get caught, it might avoid that trap.
The solution is to use multiple tunnel traps in different locations. Place them along different walls, in different rooms, or in different areas of your property.

This increases your overall catch rate and prevents rats from just avoiding one specific trap.
You don’t need to make multiple elaborate wooden boxes. Simple cardboard box tunnels work great when you’re using several at once. Make 3-5 tunnels, set them all up at the same time, and check them daily.
This approach is especially effective because different rats have different territories and travel routes. What works for one rat might not work for another, so having multiple options increases your success rate.
Tunnel Traps vs. Open Traps
Tunnel traps have several clear advantages over open snap traps. They’re safer around pets and children, rats are less suspicious of them, they protect the trap mechanism from weather and debris, and they create a contained space that makes disposal easier if needed.
The disadvantages are that tunnel traps require more initial setup, take up more space than a flat snap trap, and can’t be placed in very tight areas where a tunnel won’t fit.
For most situations, especially if you have pets or kids, tunnel traps are the better choice. The extra safety and increased effectiveness are worth the small amount of additional effort to build them.
Conclusion
Making a rat trap tunnel is simple and highly effective. You need a tube or box (PVC pipe, cardboard, or wood), a snap trap that fits inside, and good bait like peanut butter. T
he tunnel creates a safe-feeling enclosed space that rats naturally enter, while hiding the trap mechanism until it’s too late.
The key to success is placing the tunnel along active rat travel routes, using generous amounts of attractive bait, and being patient while rats get used to the tunnel’s presence.
With these elements in place, tunnel traps will catch rats more consistently and safely than open traps, making them one of the best DIY rat control methods available.

Hi, my name is Ezra Mushala, i have been interested animals all my life. I am the main author and editor here at snakeinformer.com.